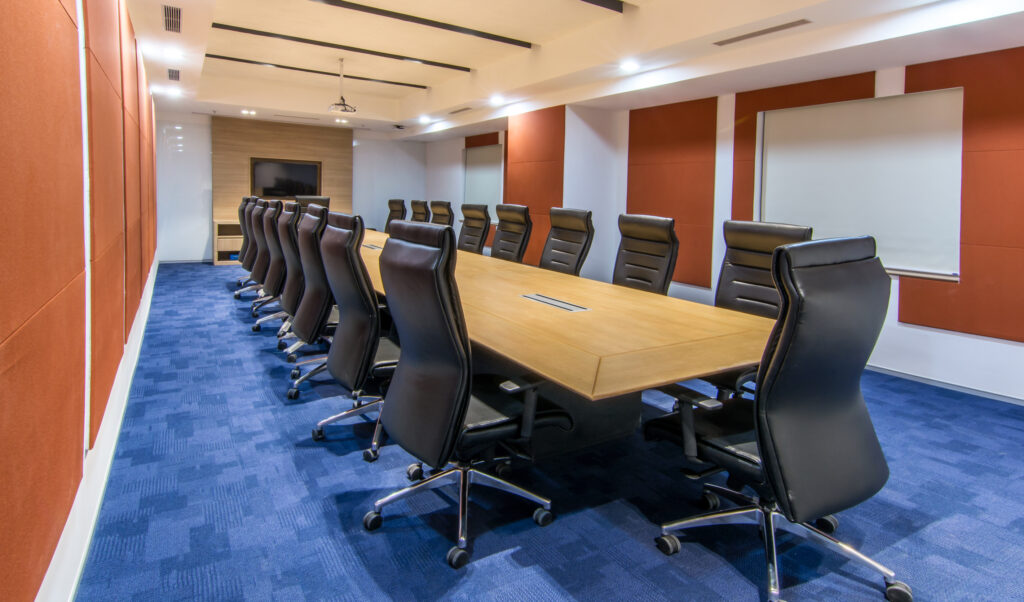
A successful business presentation isn’t just about great content—it’s also about how well the space is prepared. From seating arrangements to technical equipment, the setup of your conference room can have a major impact on your presentation’s flow, professionalism, and overall effectiveness.
Whether you’re presenting to clients, pitching to investors, or leading a team meeting, careful preparation makes all the difference. Here are some essential tips to help you set up your conference room for a smooth and professional presentation.
1. Choose the Right Room Size for Your Group
Start by selecting a conference room that comfortably fits your audience. If the room is too small, it can feel crowded and uncomfortable. If it’s too large, the presentation may lose its impact and make audience engagement more difficult.
Check the seating capacity and layout options in advance. Make sure there’s enough space for attendees to sit comfortably, move around if needed, and see the presenter clearly from all angles.
2. Test Audio-Visual Equipment Ahead of Time
Technical issues are one of the most common reasons business presentations go off track. Don’t wait until your audience arrives to discover that the projector isn’t working or the microphone has feedback.
Do a full tech run-through before the meeting. This includes:
- Projector or TV screen connection
- Laptop compatibility with presentation software
- Sound system and microphones
- Internet connection stability
- Remote meeting software (if using virtual attendees)
Bring any necessary adapters, chargers, or backup cables to avoid last-minute scrambling.

3. Set Up Seating for Visibility and Comfort
The way you arrange the chairs can influence how engaged your audience is. Common seating styles include:
- Boardroom style: Great for small group discussions
- Theater style: Best for larger audiences focused on a speaker
- Classroom style: Suitable for training sessions with note-taking
- U-shape or hollow square: Ideal for interactive presentations and Q&A
Make sure every seat has a clear view of the presenter and any screens. Avoid placing chairs behind pillars or at awkward angles.
4. Control the Lighting
Lighting can impact both visibility and the tone of your presentation. Natural light is often preferred, but it should be adjustable to prevent glare on screens.
If using a projector, dimmable overhead lights are ideal. You want your visuals to be clear without making the room too dark. Test the lighting at the same time of day as your meeting, especially if the room has large windows.
5. Eliminate Unnecessary Distractions
A clean, clutter-free environment helps attendees stay focused. Remove any unrelated materials, extra furniture, or unused tech devices from the room.
Also, check for:
- Noisy air vents or background hum
- Disruptive hallway traffic
- Personal phones or devices that might interrupt the presentation
Small details like silence and tidiness can go a long way in maintaining a professional atmosphere.
6. Prepare Print Materials (If Needed)
If your presentation includes handouts, reports, or brochures, have them printed and ready in advance. Place them on each seat or distribute them at the right moment during the presentation.
Make sure all materials are aligned with your branding and are easy to read and reference during the talk.
7. Set Up a Welcome or Sign-In Area
If attendees are arriving from outside your organization, having a small check-in table or welcome sign can help guide them and set the tone. Include:
- A printed agenda or schedule
- Name tags if appropriate
- Water or light refreshments
This shows attention to detail and helps guests feel comfortable and informed from the start.
8. Arrange Your Presentation Tools for Easy Access
Whether you’re using a laptop, tablet, laser pointer, or notecards, keep all tools within easy reach. Position your laptop or device so you can control slides without turning your back to the audience.
If you’re using a clicker or remote, test it in advance and keep spare batteries just in case.
9. Practice with the Actual Setup
Whenever possible, rehearse your presentation in the actual room with the full setup. Practice speaking at a normal volume, using the mic (if needed), and navigating slides. This will help you feel more confident and identify any setup issues before the actual event.
10. Have a Backup Plan
Even with the best planning, technical difficulties can happen. Always have a contingency plan. Bring a printed version of your slides, a backup device with your presentation file, and be prepared to present without visuals if necessary.
Knowing you have a fallback option will help you stay calm and focused if something goes wrong.
Conclusion
Setting up your conference room properly is a critical part of delivering a polished and effective business presentation. From choosing the right layout to testing equipment and eliminating distractions, attention to detail can boost your confidence and make a lasting impression on your audience.
Whether you’re presenting to colleagues, clients, or stakeholders, a well-prepared space shows professionalism, planning, and respect for your attendees’ time. With these setup tips, you’ll be ready to deliver your message smoothly and successfully.
